How to Install Kitchen Backsplash Tile Like a Pro
A backsplash is a very detailed project and can be difficult for homeowners without experience. One slip-up can result in damaged tile and costly repairs.
Adding a kitchen backsplash tile is an easy way to elevate your home’s décor and make clean-up easier. Follow these simple steps to install a backsplash that looks like a professional installed.
Preparation
Backsplashes are important in your kitchen, protecting the wall behind the sink when you cook or wash dishes. They also provide a design element to make your kitchen a focal point. A tile backsplash is available in various styles, materials, and colors, adding function and style to your kitchen.
Before you begin your DIY kitchen backsplash project, there are a few things you need to do to prepare the area. The most important thing is to clear the space where you will work. Remove all items from countertops and walls covered by the new backsplash, and cover any surfaces you will not be working on with a dropcloth or plastic sheeting. This will ensure that you do not damage your countertops or other surfaces while installing your new backsplash.
Secondly, you will want to prime the area where you will apply your backsplash. This will help ensure that your wall is completely smooth and allow the adhesive to bond well with it. You can use a high-quality drywall primer.
Finally, you will want to carefully measure your backsplash area to determine how much tile you will need to buy. Measuring the height and width of your backsplash is a good idea, and then multiplying those numbers to find out how many square feet of tile you will need.
Layout
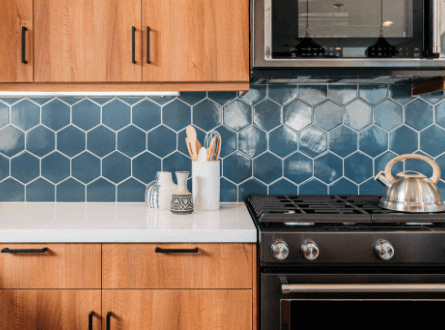
Backsplash tiles come in various sizes, shapes, colors, and materials, so you can choose from many different kitchen backsplash layout ideas. While a backsplash is primarily functional, it’s also an opportunity to add a pop of color and design style to your home’s most popular gathering space.
Whether you’re choosing a traditional ceramic tile or something more modern, it’s important to lay out your kitchen backsplash before beginning the actual tiling process. Ensuring everything is lined up correctly will help ensure that your finished product is even and attractive.
To get started, use a tape measure to determine the width and height of your space. This will give you the square footage that you need for your backsplash. Ensure to include 10% of extra tile for any mistakes or waste.
Next, find your center point on the wall–usually behind your stove or range hood is the best spot. Consider marking this point vertically with a pencil or chalk. This will help you find the right location for your first row of tiles. Starting in the center is important to ensure symmetry and avoid cutting off any unique design elements. If working with a taller backsplash, consider starting in the corner and shifting your pattern down as needed.
Tile Installation
It’s important to plan the tile backsplash installation before you begin. Ensure you have everything you’ll need, including the tile, mortar, or mastic (sold separately) and the tools you’ll need to apply it, such as a notched trowel and rubber float. Depending on the tile you choose, you’ll also need a level and a snap cutter or wet saw.
Before applying the mastic:
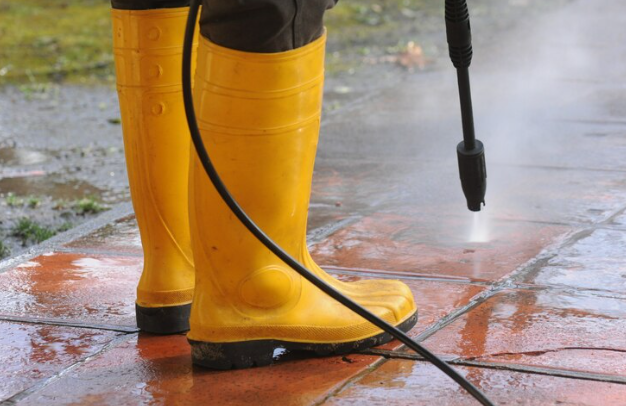
- Clean the wall thoroughly with your cleaner and let it dry completely.
- If there are grease splatters, wipe them down with a damp cloth and use a degreaser to remove any remaining grime—mastic won’t adhere to it.
- Cover any countertops and upper cabinets with painter’s tape to protect them from splashes while you work.
After planning the pattern for your kitchen backsplash, vertically mark the center point on the wall with a pencil. Then, lay out tiles horizontally to get a feel for the layout, ensuring you have enough spacers.
If you’re using a self-stick or peel-and-stick backsplash, cut the SimpleMat to fit the area you’ll be covering. Paint the backoff and align the unexposed side against a straight surface, like your countertop. Then, attach the mat with the super-strong glue dots, leaving a 1/8-inch overlap. Repeat as needed to cover your entire backsplash area.
Finishing
A backsplash adds style to kitchen interiors and keeps cooking smoke, food grime, and grease off walls. Installing a backsplash doesn’t have to be difficult, and a little planning can make for a quick weekend project. Mosaic tiling sheets make the layout a cinch, and they can be cut to accommodate outlets, vent hoods, or any other unique design elements you’re going with.
You’ll also want to plan for any areas where you’ll have to cut tiles or for a gap between the backsplash and upper cabinets. Using tile spacers is important to ensure that your grout lines are symmetrical and available in various sizes and shapes to suit any project.
If you’re working with a professional installer, it helps to be on-site during the backsplash installation to see how things are progressing. It’s not unusual for a homeowner to have strong opinions about how things should be done, and it’s important to communicate these preferences before the back splash goes up.
When you’re ready to grout, use a quality thinset mortar. Follow the directions on your chosen product, and apply a grout sealer afterward to reduce the likelihood of staining. You may also want to add a strip of metal or plastic trim along the edges of your backsplash, especially if it will be exposed to water or steam.