How to Share a Calendar in Outlook
outlook shared calendar In today’s workplaces, where many people work remotely or across time zones, calendars can be a great tool for collaboration. This is especially true when it comes to scheduling meetings and events.
To access a shared calendar, the person who owns it must have granted you permission. The required shared calendar will be displayed in the Folder pane alongside your own primary calendar.
Contents [show]
With the help of Outlook’s shared calendar feature, you can easily share and synchronize your schedule with others. It is a great way to keep everyone on the same page and make sure no events are missed. This article will walk you through the steps of creating and sharing a calendar in the Windows, web, and Exchange versions of Outlook as well as troubleshoot some common syncing issues.
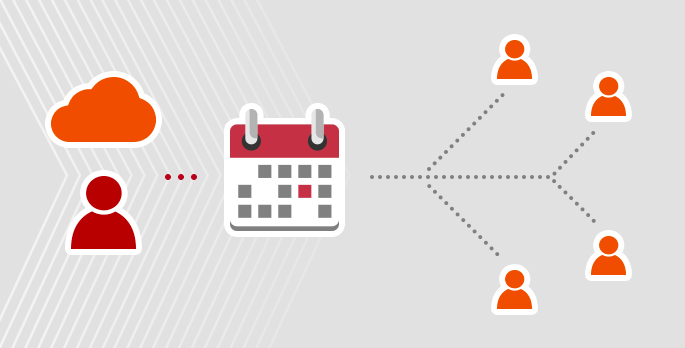
To start, launch Outlook and select Calendar on the left side of the navigation pane. Then, right-click on your calendar and select Share Calendar. A new window will appear where you can select the users that you want to view your calendar and their permissions.
You can choose a level of access for each user: Can view when I’m busy, Can view titles and locations, Can edit, or Can view all details. Once you’ve selected the users, click OK to share your calendar. You can also change the permissions at any time by selecting a user and changing their settings in the Calendar Properties window.
Sharing your calendar with key members of the team is an easy and effective way to communicate busy times, vacations and other exceptions. It can also help you plan meetings and schedule resources.
Click the Share button in your calendar, then select the type of permission you want to grant. You can choose between Can view titles and locations, Can edit and Can make changes.
The person you invite will receive an email invitation. They can access your shared calendar from Outlook Web or the mobile apps for iOS and Android. They can also add your calendar to their iCloud or Exchange calendar.
You can change the permissions for a shared calendar at any time. Just select the person whose calendar you want to edit and change their level of access in the Permissions window. It may take a few minutes for the change to sync with the other user’s account. You can also revoke access to a shared calendar by selecting the person and clicking Remove.
If you share a calendar with other people, you can change the permissions to control how much information each person can see. You can also delegate tasks such as responding to meetings and creating new appointments on your behalf.
To change the permissions for a calendar, right-click the calendar and select Permissions. You can then choose from a list of pre-defined permission levels.
For example, you can set a permission level to Allow editing, which allows the recipient to edit appointment details. You can also set a permission level to Allow access for non-editing actions, which gives the recipient permission to act on your behalf but does not give them editing rights.
When you change the permissions for a calendar, the changes will apply to both the calendar itself and any events that are attached to it. This is true even if the event is in another person’s folder. This is a security feature to prevent accidental deletion of important events from other people’s calendars.
If you want to delete a shared calendar in Outlook, you can do so by right-clicking the shared calendar and selecting “Delete Group or Delete Calendar”. You will be prompted to confirm the deletion before it occurs. This will remove the shared calendar from your folder and move it to the Deleted Items folder.
Some users experience issues removing an empty imported calendar from their Outlook profile. This can be due to corrupt entries, which makes the Delete option greyed out or unavailable. You can fix this by running a command in the Run window
Another solution is to use a third-party tool that can quickly locate and remove duplicate entries from Outlook. One such tool is Kutools for Outlook Duplicates Remover, which offers a free trial version with all features enabled. This software can help you find and eliminate duplicates within minutes, so you don’t have to worry about losing your data! Download it now and give it a try!