Easy 5-Step Process in Creating Custom Die-Cut Labels
Custom die-cut labels are a versatile and eye-catching way to add a unique touch to your products, packaging, or marketing materials.
Whether you want to create custom labels for your business, special events, or personal projects, the process can be straightforward and enjoyable.
Don’t get stuck and make mistakes! Let us help you through this easy 5-step process in creating custom die-cut labels that will help your designs stand out and leave a lasting impression.
Contents
Step 1: Define Your Purpose and Design
The first step in creating custom die-cut labels is to define your purpose and design. Consider the following questions:
- What is the purpose of the labels? Are they for branding, product packaging, event promotion, or personal use? Clearly understanding the purpose will guide your design choices.
- What are your design preferences? Think about the style, colors, and overall aesthetic you want for your labels. Do you have specific design elements or images in mind?
- What are the size and shape requirements? Determine the dimensions and shape of the labels. Custom die-cut labels can be created in various shapes, from standard rectangles to intricate, custom shapes that match your brand or design.
- What content will be on the labels? Consider the information, text, and graphics you want to include. Ensure that the content is clear and aligns with your purpose.
- Will you need professional design assistance? Depending on your design skills and the complexity of your vision, you might want to work with a professional designer who specializes in label design.
- Do you have brand guidelines? If you’re creating labels for a business or organization, make sure your design adheres to any established brand guidelines for consistency.
Step 2: Select the Right Material
The material you choose for your custom die-cut labels can significantly impact the final look and durability of the labels. There are various options to consider:
Paper Labels: These are suitable for a wide range of applications, from product packaging to event labels. They are available in matte, gloss, and textured finishes.
Plastic Film Labels: Vinyl labels are durable and weather-resistant, making them ideal for outdoor or industrial use. They can be clear or white.
Foil Labels: Foil labels add a touch of elegance and are often used for high-end products or special occasions. They come in various metallic colors.
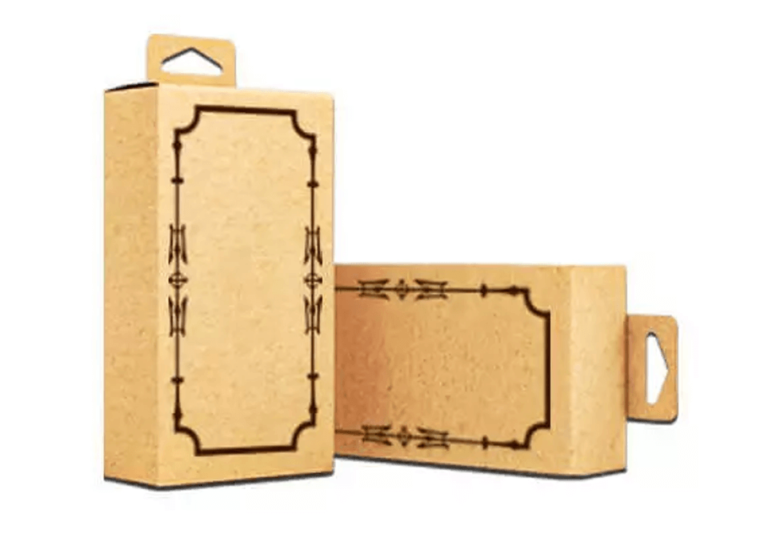
Kraft Labels: Kraft labels have a rustic and natural appearance, making them popular for eco-friendly and handcrafted products.
Specialty Labels: Some specialty materials, such as holographic, fluorescent, or neon labels, can add a unique visual appeal to your custom die-cut labels.
The choice of material should align with your design, purpose, and the environment in which the labels will be used. If you’re unsure, your printing service provider can help you select the right material based on your needs.
Step 3: Design and Proofing
Once you’ve defined your purpose, design, and selected the appropriate material, it’s time to create your label artwork and go through the proofing process:
Create Your Design: Use graphic design software to create your label artwork, following the size and shape specifications. Ensure that all text and graphics are clear, and that your design aligns with your purpose and preferences.
Bleed and Trim Marks: If your design extends to the edge of the label, make sure to include bleed (extra design beyond the label edge) and trim marks (indicators for where the label will be cut). This ensures a precise die-cut.
Review for Errors: Carefully proofread your design for spelling, grammar, and design errors. It’s a good practice to have someone else review it as well to catch any overlooked mistakes.
Color Accuracy: Ensure that your design uses the correct color profiles (e.g., CMYK for printing) to maintain color accuracy. Keep in mind that colors may appear differently on printed labels compared to what you see on a screen.
Save the Design: Save your design files in the appropriate file format recommended by your printing service provider, typically PDF, AI, or EPS.
Submit for Proofing: Send your design files to your printing service provider for proofing. They will create a digital proof for your approval. Review the proof carefully for accuracy and design fidelity.
Adjustments and Revisions: If necessary, work with your printing service provider to make any adjustments or revisions to the design or proof. This back-and-forth process ensures that you are satisfied with the final product.
Step 4: Die-Cutting and Printing
Custom die-cut labels require specialized printing and cutting techniques to achieve the desired shape. Your printing service provider will take care of this process:
Printing: Your approved design will be printed onto the selected label material using high-quality, professional-grade printing equipment. Ensure that the printing service provider uses high-resolution printing to maintain the quality of your design.
Die-Cutting: The die-cutting process uses a custom-made die (a specialized cutting tool) to precisely cut the labels into the desired shape. The die is created based on your design specifications. Advanced die-cutting machines ensure accurate and consistent cuts.
Finishing Options: Depending on your preferences, you can choose from various finishing options, including laminating, varnishing, or adding special coatings for added protection and visual appeal.
Quality Control: A quality control check is conducted to ensure that the printed and die-cut labels meet your design and quality standards.
Step 5: Label Application
Once your custom die-cut labels are ready, it’s time to apply them to your products, packaging, or marketing materials:
Clean and Prepare the Surface: Ensure that the surface where you plan to apply the labels is clean and free of dust, dirt, or any contaminants. This ensures proper adhesion.
Peel and Apply: Carefully peel the backing off the labels, exposing the adhesive side. Align the labels with the desired location on your product or packaging and apply them evenly, avoiding air bubbles or wrinkles.
Smooth Application: Use a clean, soft tool (like a squeegee or your fingers) to smooth out the label, ensuring it adheres properly without any imperfections.
Inspect and Store: After applying the labels, inspect the final result to ensure that they are securely attached and aligned correctly. Store your labeled products or packaging in a suitable environment to maintain label quality.
Conclusion
Creating custom die-cut labels is a straightforward process that can significantly enhance your products and promotional materials.
By following this easy 5-step guide, you can define your purpose, design, select the right materials, go through the design and proofing phase, and leave the printing, die-cutting, and label application to the experts.
Custom die-cut labels can elevate your branding, set your products apart, and make a memorable impression on your target audience. Whether you’re a business owner, event planner, or creative enthusiast, custom die-cut labels offer a creative and effective way to showcase your unique style and message.