How Long Does a Quick Weave Last?
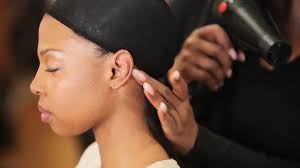
Quick weaves have taken the hair industry by storm, offering a blend of convenience and style. But how durable are they? Can they withstand the challenges of daily life? Here’s your expert guide on everything quick weaves.
Contents [show]
Quick Weave Lifespan: What to Expect
The typical lifespan of a quick weave can range from 4 to 6 weeks. The longevity hinges on factors like maintenance, hair quality, and daily routines. However, with the right care, extending the life of a quick weave is entirely achievable.
Quick Weave vs. Traditional Weave
Unlike the time-intensive installation process of traditional weaves, quick weaves are, as the name suggests, quick! The trade-off? Traditional weaves might last longer, but the speed and convenience of quick weaves make them a top choice for many.

Pros and Cons of Quick Weaves
Pros:
- Quick installation process
- Versatile styling options
- Cost-effective alternative to traditional weaves
Cons:
- Shorter lifespan than sew-ins
- Potential for hair damage if not maintained properly
- May need more frequent touch-ups
What Do I Need To Install a Quick Weave?
Venturing into the world of quick weaves? The installation process might be swift, but preparation is essential. Here’s a checklist to guide you through a flawless quick weave installation.
1. Quality Hair Extensions: Choose the right type of hair. Virgin hair extensions, which haven’t been chemically treated, are a top pick for their natural appearance and durability.
2. Protective Cap or Wig Cap: To safeguard your natural hair from the glue, use a protective cap. This also provides a base for attaching the weave.
3. Hair Bonding Glue: Quality is crucial. A good hair bonding glue ensures that the weft of the hair extension adheres properly. Remember, the quality of the glue can impact how long the quick weave lasts.
4. Scissors: For trimming and adjusting the weave as needed. Sharp, professional hair scissors are recommended for a precise cut.
5. Comb and Brush: Essential for detangling and smoothing out your natural hair before cap placement and for styling the weave once installed.
6. Blow Dryer: After applying the weave, a blow dryer on a cool setting helps set and dry the glue quickly. It’s essential for a firm hold.
7. Hair Products: From heat protectants to moisturizing serums, arm yourself with the best hair products for quick weaves. This ensures your style remains fresh and the hair stays protected.
8. Flat Iron or Curling Wand (Optional): For styling your quick weave, depending on the desired look. Remember to always use a heat protectant!
9. Adhesive Remover: For safe and easy removal of the quick weave. It ensures no residue is left behind and reduces the risk of damage to your natural hair.
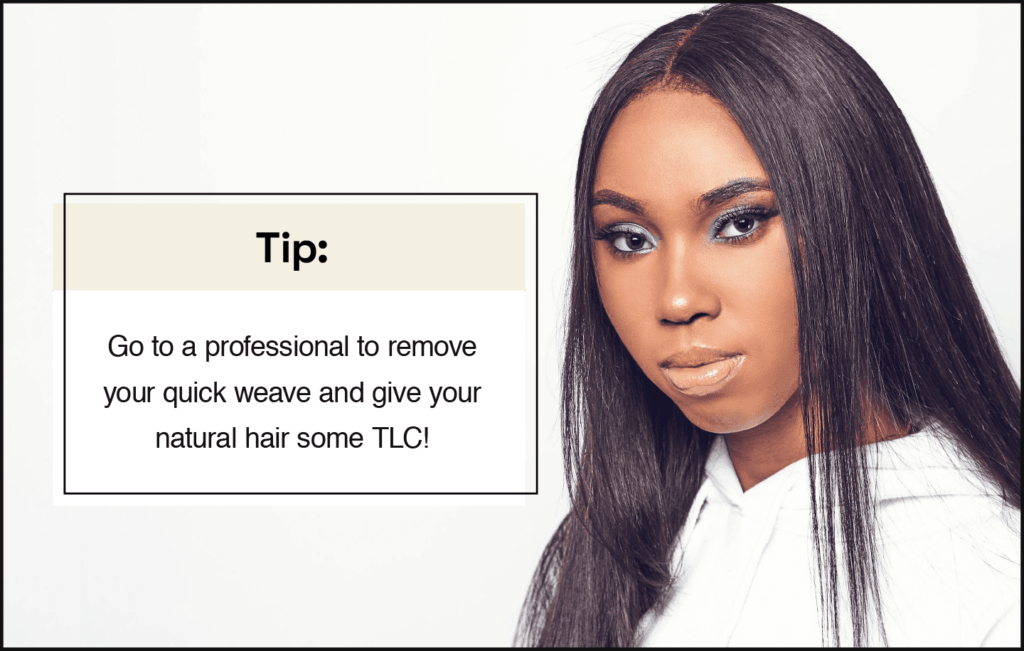
10. Deep Conditioner: Post quick weave removal, it’s essential to give your natural hair some TLC. A deep conditioning treatment revives and hydrates your hair, ensuring it remains healthy.
With these essentials in hand, you’re poised for a smooth quick weave installation. Remember, technique matters too. If you’re unsure about installing it yourself, seek the expertise of a professional stylist. They can guide you, ensure the weave sits correctly, and provide you with tips to maximize its lifespan.
How Do I Install a Quick Weave?
Dive into the transformative world of quick weaves with confidence! Follow this step-by-step guide crafted by industry experts to ensure your installation process is seamless and safe for your natural hair.
1. Prepare Your Natural Hair:
Firstly, wash and condition your hair. Ensure it’s tangle-free. Consider applying a leave-in conditioner or hair protectant to shield your hair from potential damage.
2. Cornrow Your Hair:
Braid your natural hair flat against your head in cornrows. This forms a flat base for your weave. The smaller the cornrows, the flatter the quick weave will lay, but ensure they’re not too tight to prevent tension.
3. Protect Your Hairline:
Apply a protective shield around your hairline. This acts as a barrier, ensuring that the glue doesn’t come into direct contact with your natural hair.
4. Place the Wig Cap:
Cover your cornrowed hair with a wig cap. This further ensures that the glue doesn’t reach your natural hair, and it provides a surface to adhere the hair extensions to.
5. Measure and Cut the Wefts:
Before gluing, measure the hair extensions/wefts against your head to determine the length you need. Cut the wefts according to your desired style and head shape.
6. Apply the Hair Bonding Glue:
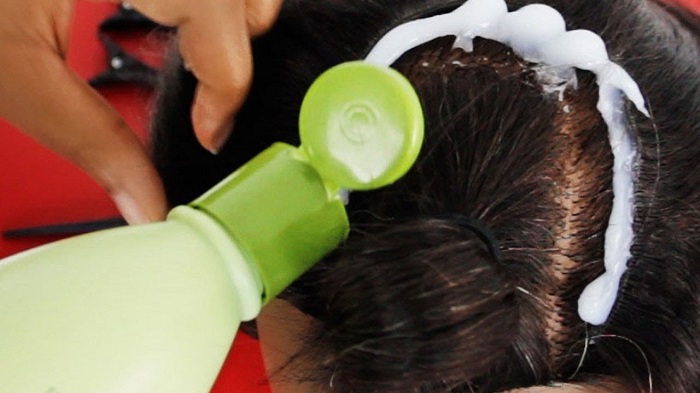
Take one weft at a time and apply a thin layer of the hair bonding glue along its top. Be sure not to over-saturate with glue.
7. Install the Hair Wefts:
Starting from the nape of your neck, firmly press the glued side of the weft onto the wig cap. Use the cool setting of your blow dryer to help the glue dry and set faster. Continue this process, working your way upwards towards the crown of your head.
8. Style the Quick Weave:
Once all wefts are securely in place, style your weave as desired. Whether it’s curling, straightening, or cutting, make sure to always use heat protectant if you’re applying heat.
9. Maintenance:
For longevity, maintain your quick weave with regular care. This includes wrapping it up at night, using the right hair products, and gently combing to avoid shedding.
10. Removal:
When you’re ready to take out your weave, apply an adhesive remover and gently lift the wefts from the cap. Follow up with a deep conditioning treatment for your natural hair.
Remember, practice makes perfect. The first time might feel challenging, but with time and patience, you’ll master the art of installing a quick weave. If in doubt, seek assistance from a professional hairstylist for guidance or installation. Unlock the power of versatility with quick weaves and redefine your hair game!
Extending the Life of a Quick Weave
- Quick Weave Maintenance Tips: Regular maintenance is crucial. Protect your weave from excessive heat and chemicals, and use the best hair products for weaves.
- Protecting Your Natural Hair: Your natural hair health directly impacts the lifespan of your quick weave. Always prioritize protecting your natural hair under a quick weave.
- How to Prevent Quick Weave Damage: Avoid excessive manipulation. Limit the use of heat styling tools and always use a heat protectant.
Quick Weave Care Routine
- How to Wash a Quick Weave: It’s best to wash every 1 to 2 weeks using a gentle shampoo and conditioner. Always dry thoroughly to prevent mold and mildew buildup.
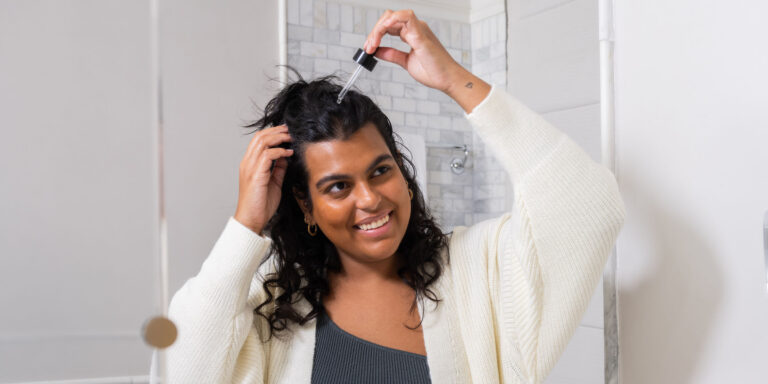
- Daily Routines for Quick Weave Hair: Use a light serum or oil to keep the hair hydrated, and wrap it up at night with a silk or satin scarf to reduce friction and breakage.
- How Moisture Affects a Quick Weave’s Longevity: Too much moisture can degrade the glue’s bond, reducing the weave’s lifespan. Yet, too little can cause breakage. Striking a balance is key.
FAQs about Quick Weaves
- Do quick weaves damage natural hair? Not if properly installed and cared for. Ensure regular hair treatments and protective measures.
- Can you exercise with a quick weave? Absolutely! However, sweating excessively might weaken the glue bond. Consider using a headband during workouts.
- How do quick weaves compare to sew-ins in terms of durability? Sew-ins generally last longer but come with a lengthier and often costlier installation process.
- What type of hair is best for a long-lasting quick weave? Virgin hair, free of chemicals, usually lasts longer and looks more natural.
- How to remove a quick weave without damage? Use a specialized adhesive remover and follow up with a deep conditioning treatment.
Read More About Varsity Jacket
Conclusion: Embrace the Quick Weave Revolution!
Quick weaves are here to stay, offering unmatched convenience and style versatility. With proper care and maintenance, you can enjoy a fabulous look that lasts weeks. Whether you’re a quick weave veteran or a newbie considering your first installation, it’s clear: when done right, quick weaves are a game-changer.
Remember: every hair journey is unique. Consult with your stylist for tailored advice.
Ready to dive into the world of quick weaves? Make an informed choice, care for it well, and flaunt that gorgeous hair with pride!

